
How Do You Develop a Web Site From Scratch?
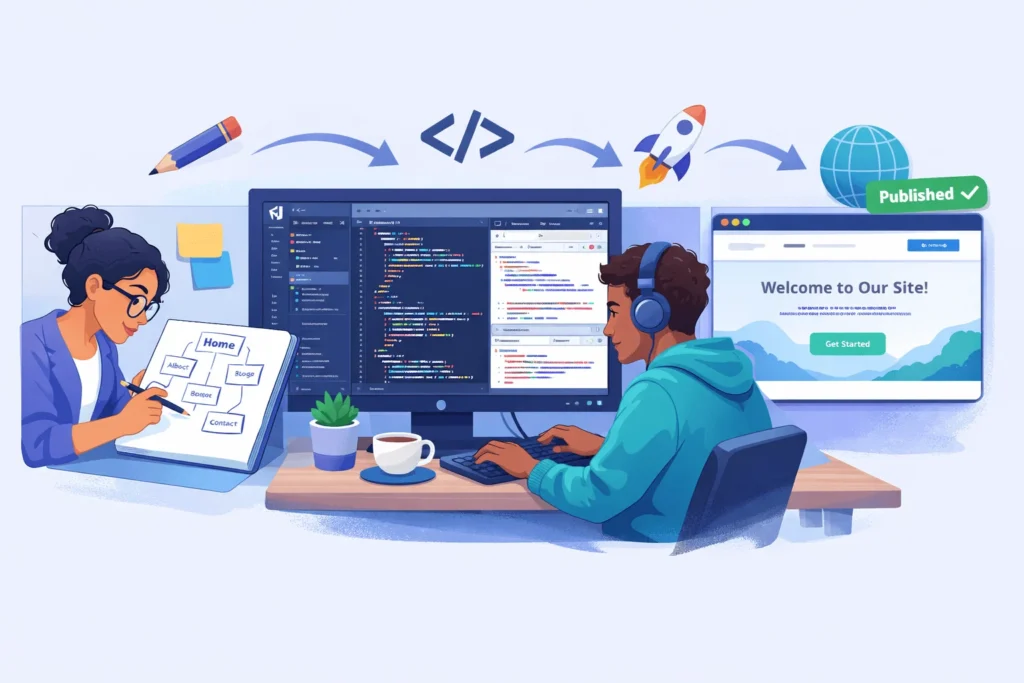
To develop a web site, you follow a structured process: define goals, plan structure, design pages, write or configure code, test across devices, launch on a live server, and maintain over time. This is the standard website development life cycle used by professionals and beginners alike.
Unlike simply “building” a site with a drag-and-drop tool, developing a website means understanding each layer—from content strategy to front‑end code to deployment—so you have real control over the result.
In 2026, approximately 2,52,000 new websites are created every day. Standing out requires more than a template. It requires thoughtful development.
What Is the Difference Between Building and Developing a Website?
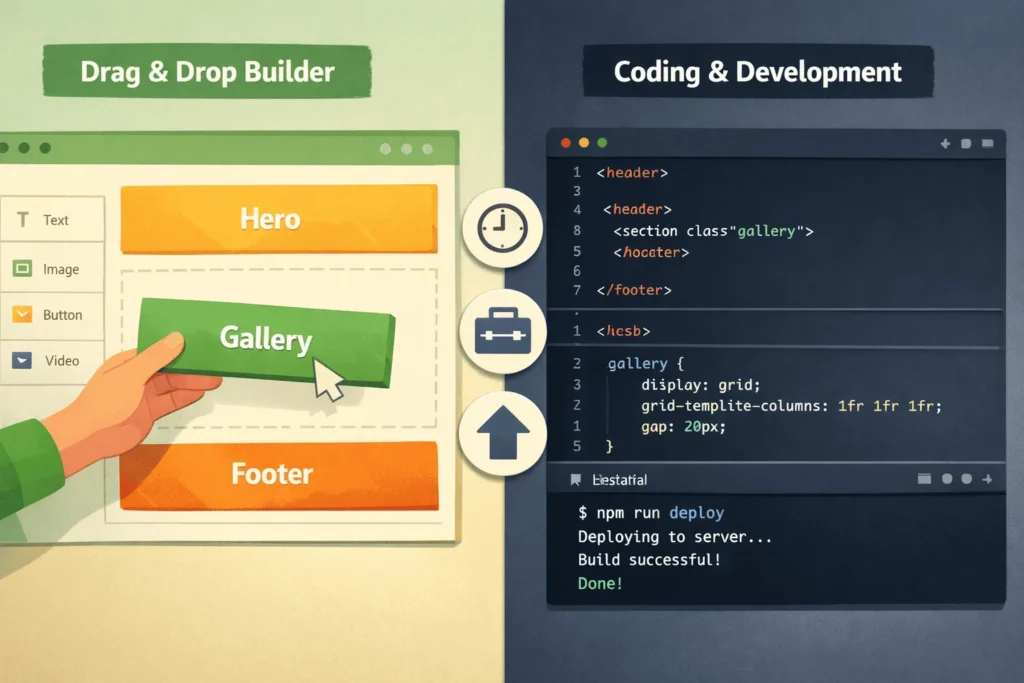
The distinction matters: building usually refers to assembling a site using a visual tool or template, while developing involves understanding the underlying code, architecture, and deployment pipeline.
Both approaches are valid. Many beginners start with a builder to learn concepts, then transition to development for deeper control. This guide focuses on the development path—the one that teaches you how websites actually work under the hood.
What Are the Core Steps to develop a website?
The website development process generally follows six to eight phases, though details vary by project size. Here’s a consolidated, beginner-friendly seven-step breakdown.
Step 1: How Do You Define Goals and Plan Your Website?
Every successful website starts with clear goals and a plan.
- Define the website’s purpose. Is it a personal blog, portfolio, startup landing page, or online store?
- Identify your target audience. Students, clients, recruiters, customers—each group shapes design and content decisions.
- List required pages and features. Common pages include Home, About, Blog, Services/Products, and Contact.
- Create a simple sitemap. Sketch how pages connect. This becomes your navigation blueprint.
- Set a realistic timeline. A simple 3–5 page informational site can be developed in 2–4 weeks by a beginner; more complex projects take longer.
“A website without clear goals is like a trip without a destination. During this step, you’ll define what success looks like—not just for your business, but for your users too.” — Relia Software
Key planning deliverables: project goals, audience profiles, content outline, sitemap, and technical requirements.
Step 2: How Do You Design Your Web Pages?
Design translates your plan into visual layouts before any code is written.
- Choose a visual direction. Decide on colours, fonts, and imagery that match your brand or personality.
- Create wireframes. Low-fidelity sketches (pen-and-paper or tools like Figma) that show where elements sit on each page.
- Design high-fidelity mockups. Detailed visual representations of key pages—hero sections, content blocks, footers—with real colours and fonts.
- Plan the user experience (UX). Navigation, call-to-action placement, and mobile layout all affect how visitors interact with your site.
Design doesn’t have to be complex for beginners. Even a simple wireframe on paper helps you code with confidence instead of improvising layout as you go.
Step 3: What Tools Do You Need to Develop a Website?
Modern web development uses a surprisingly small set of core tools, many of which are free.
| Tool | Purpose | Cost |
|---|---|---|
| VS Code | Code editor with extensions, debugging, and AI assistance | Free |
| Google Chrome DevTools | Inspect elements, debug CSS/JS, test responsiveness | Free |
| GitHub | Version control, collaboration, and free hosting via GitHub Pages | Free (with paid tiers) |
| Figma | Wireframing and design mockups | Free tier available |
Languages you’ll use:
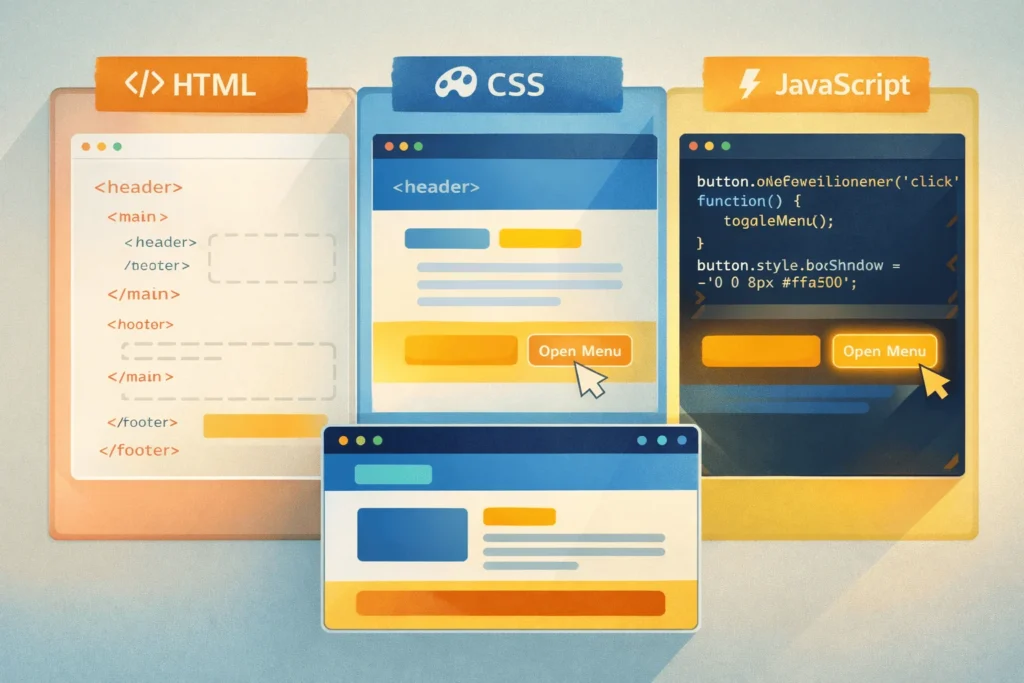
- HTML — Structures the content (headings, paragraphs, images, links).
- CSS — Styles the visual presentation (colours, fonts, layout, spacing).
- JavaScript — Adds interactivity (menus, forms, animations, dynamic content).
For a basic informational or blog site, HTML and CSS alone can get you live. JavaScript becomes essential when you need interactive features like calendars, filters, or form validation.
Step 4: How Do You Write the Code for Your Website?
This is where development truly begins. Start simple and layer complexity gradually.
- Create the project folder. Organise files:
index.html, acss/folder for stylesheets, and ajs/folder for scripts. - Build the HTML structure. Write semantic markup for your header, navigation, main content, and footer.
- Style with CSS. Apply layout (flexbox or grid), typography, colours, and spacing. Consider using a utility framework like Tailwind CSS to speed up styling.
- Add JavaScript for interactivity. Start with small features—a mobile menu toggle, a simple contact form validation, or a smooth scroll effect.
- Make it responsive. Use CSS media queries or a responsive framework so the site works well on phones, tablets, and desktops.
A simplified example of a basic HTML page:
<!DOCTYPE html>
<html lang="en">
<head>
<meta charset="UTF-8">
<meta name="viewport" content="width=device-width, initial-scale=1.0">
<title>My First Website</title>
<link rel="stylesheet" href="css/style.css">
</head>
<body>
<header>
<nav>
<a href="/">Home</a>
<a href="/about.html">About</a>
<a href="/contact.html">Contact</a>
</nav>
</header>
<main>
<h1>Welcome to My Website</h1>
<p>This is my first web page, built from scratch.</p>
</main>
<footer>
<p>© 2025 My Website</p>
</footer>
<script src="js/main.js"></script>
</body>
</html>
“Start by constructing all the static components using HTML and CSS. To enhance the visuals, look into Tailwind CSS.” — r/webdev community advice
Step 5: How Do You Test Your Website Before Launch?
Testing ensures your site works correctly for every visitor, not just on your own screen.
- Cross-browser testing. Open your site in Chrome, Firefox, Safari, and Edge. Fix any layout or rendering differences.
- Responsive testing. Use Chrome DevTools’ device toolbar to simulate phones and tablets. Check that text is readable, buttons are tappable, and images scale properly.
- Performance check. Run your URL through Google PageSpeed Insights. Aim for scores above 80 on both mobile and desktop. Optimise images and minimise CSS/JS if needed.
- Link and form validation. Click every link. Submit every form. Confirm no broken links (404 errors) and that forms send data correctly.
- SEO basics check. Verify that every page has a unique
<title>, a meta description, proper heading hierarchy (H1 → H2 → H3), and descriptive imagealtattributes.
Step 6: How Do You Launch Your Website?
Launching means making your developed site accessible on the internet.
- Choose a hosting method.
- Register a domain name. Pick a memorable
.comor relevant TLD that reflects your brand. Domain registration typically costs $10–$15/year. - Deploy your files. Push your code to GitHub and enable GitHub Pages, or upload via FTP/SFTP to a traditional host.
- Enable SSL (HTTPS). Most modern hosts (including GitHub Pages and Netlify) provide free SSL certificates. HTTPS is essential for user trust and SEO.
- Set up analytics. Connect Google Analytics or a lightweight alternative so you can track visitors, popular pages, and engagement from day one.
Post-launch checklist:
- Test live URLs in multiple browsers.
- Submit your sitemap to Google Search Console.
- Share on social media and relevant communities.
- Monitor performance and fix any post-launch issues quickly.
Step 7: How Do You Maintain and Improve Your Site?
A live website is never truly finished.
- Update content regularly. Fresh blog posts, updated service pages, and current information signal relevance to both users and search engines.
- Monitor performance. Check analytics monthly for traffic trends, bounce rates, and page speed. Address issues promptly.
- Keep dependencies updated. If you use frameworks or libraries, update them to patch security vulnerabilities.
- Iterate based on feedback. Ask users (or friends) what confused them and improve navigation, copy, or design accordingly.
- Plan for growth. As traffic increases, consider upgrading hosting, adding a CMS, or migrating to a framework like React or Next.js for more dynamic features.
What Does the Full Development Timeline Look Like?
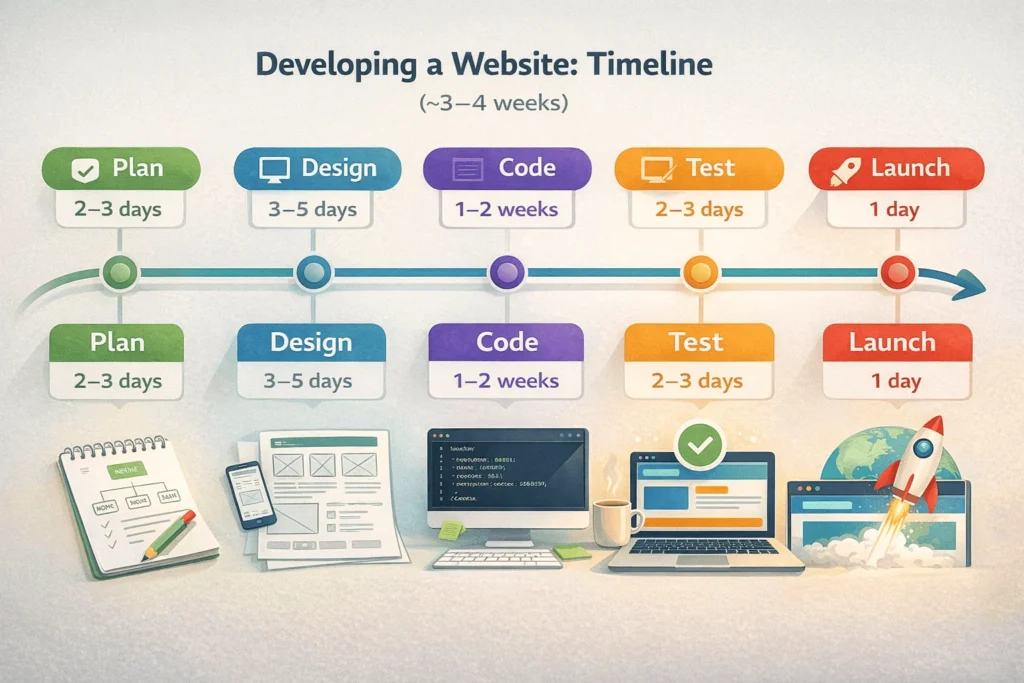
For a simple 3–5 page informational or portfolio site developed by a beginner:
| Phase | Typical Duration | Key Deliverable |
|---|---|---|
| Planning & goals | 2–3 days | Sitemap, content outline |
| Design & wireframes | 3–5 days | Wireframe sketches or Figma mockups |
| HTML/CSS/JS coding | 1–2 weeks | Working pages on localhost |
| Testing & fixes | 2–3 days | Cross-browser, responsive, performance tested |
| Launch & deployment | 1 day | Live site on domain with SSL |
| Total | ~3–4 weeks | Live, tested website |
More complex projects—e-commerce, web apps, custom backends—can take 8–12+ weeks and significantly higher budgets.
How To Develop a Web Site: Structured HowTo
Times Needed: 21 Days
Estimated Cost: 0–50 USD (domain + optional hosting; tools are free)
Description: A three-week, beginner-friendly process to develop a web site from scratch using free tools—covering planning, design, coding in HTML/CSS/JS, testing, and deploying to a live URL.
Steps that you can follow
- Define Goals, Audience, and Sitemap
Step Title: Plan Purpose and Page Structure
Step Description: Write your site’s primary goal and list 3–5 pages (Home, About, Blog, Contact). Sketch a simple sitemap showing how pages link together. This prevents aimless coding later. - Create Wireframes for Key Pages
Step Title: Sketch Page Layouts Before Coding
Step Description: Draw rough layouts for your homepage and one inner page on paper or in Figma. Mark where the header, hero, content blocks, and footer go. Wireframes save hours of CSS trial-and-error. - Set Up VS Code and a Project Folder
Step Title: Prepare Your Development Environment
Step Description: Install VS Code, create a project folder with index.html, a css/ subfolder, and a js/ subfolder. Install the Live Server extension so you can preview changes instantly in the browser. - Build Pages With HTML and Style With CSS
Step Title: Code Structure and Visual Design
Step Description: Write semantic HTML (header, nav, main, footer) for each page, then style with CSS using flexbox or grid for layout. Add responsive media queries so the site works on mobile. - Add JavaScript for Interactive Features
Step Title: Implement Interactivity and Navigation
Step Description: Add a mobile menu toggle, smooth scrolling, or form validation using vanilla JavaScript. Keep scripts lightweight and test each feature in multiple browsers before moving on. - Test Across Browsers, Devices, and Speeds
Step Title: Validate Functionality and Performance
Step Description: Open the site in Chrome, Firefox, Safari, and Edge. Use DevTools’ device toolbar for responsive checks. Run Google PageSpeed Insights and fix any major issues (image compression, unused CSS). - Deploy to GitHub Pages and Connect Domain
Step Title: Launch Your Site on the Internet
Step Description: Push your code to a GitHub repository, enable GitHub Pages in settings, and optionally connect a custom domain. Test the live URL, submit a sitemap to Google Search Console, and share your site.
Tools Name: VS Code, Google Chrome DevTools, GitHub, Google PageSpeed Insights
Materials Name: Content outline, wireframe sketches, brand assets (logo, colors), domain name
FAQs on Website Development
Building typically means using a visual, no-code tool (like Wix or Squarespace) to assemble a site from templates. Developing means understanding and writing the underlying code—HTML, CSS, JavaScript—and managing the deployment pipeline yourself. Development gives you deeper control over design, performance, and scalability.
Yes. With free tools like VS Code, Chrome DevTools, and GitHub Pages, a beginner can build and deploy a simple site in 3–4 weeks while learning HTML, CSS, and basic JavaScript. Many online tutorials and community forums support self-learners through the process.
If you use free tools (VS Code, GitHub Pages) and buy only a domain (~$10–$15/year), your total first-year cost can be under $50. Professional custom development for businesses typically costs $2,500–$8,000+ depending on scope.
At minimum: HTML (structure), CSS (style), and JavaScript (interactivity). For a simple static site, HTML and CSS alone are sufficient. JavaScript becomes essential for dynamic features. Back-end languages like PHP, Python, or Node.js are needed for server-side functionality.
A simple 3–5 page site takes a beginner roughly 3–4 weeks. A medium-complexity business site with custom features might take 8–12 weeks with professional developers. Timeline depends on scope, skill level, and how much content is ready.
For your first project, start with plain HTML, CSS, and vanilla JavaScript to understand fundamentals. Frameworks like React, Vue, or Next.js are powerful but add complexity. Once you’re comfortable with the basics, frameworks make scaling and building dynamic apps much faster.
GitHub Pages is ideal for static HTML/CSS/JS sites—it’s free, integrates with VS Code, and deploys in minutes. Netlify is another excellent free option with more features like form handling. For sites needing databases or server-side code, consider affordable shared hosting or cloud platforms.
There are approximately 1.1–1.34 billion websites on the internet, though only about 17–18% are currently active. Around 252,000 new websites are created every day.
Key Takeaways
- Developing a web site means understanding the full life cycle—from planning and design through coding, testing, and deployment—not just dragging elements into a template.
- The core tools are free: VS Code for coding, Chrome DevTools for testing, and GitHub Pages for hosting. A beginner’s total cost can be under $50 for a full year.
- HTML, CSS, and JavaScript are the foundational languages. HTML and CSS alone can get a simple site live; JavaScript adds interactivity.
- A structured 7-step process—plan → design → set up tools → code → test → launch → maintain—prevents wasted effort and produces a professional-quality result even for first-timers.
- Testing across browsers, devices, and performance benchmarks before launch is what separates amateur sites from credible ones.
Next Steps you can follow
- Install VS Code and set up your first project folder with
index.html, acss/folder, and ajs/folder. - Sketch a simple sitemap for a 3–5 page personal or portfolio site (Home, About, Projects, Contact).
- Write your first HTML page, add CSS styling, and preview it using VS Code’s Live Server extension.
- Make it responsive by adding CSS media queries for mobile screens, and test with Chrome DevTools.
- Deploy to GitHub Pages by pushing your code to a repository and enabling Pages in settings—your site will be live within minutes.
- Once you’re comfortable, explore StartupMandi’s resources for guidance on scaling from a simple site to a full business website with professional design and SEO.
Conclusion on Website Development
Learning to develop a website is one of the most valuable skills a student, blogger, or early-stage founder can invest in during 2026. With over a billion websites online and 252,000 new ones created every day, standing out requires more than a template—it requires understanding how websites actually work.
The seven-step process outlined here—plan, design, set up tools, code, test, launch, maintain—gives you a repeatable framework that scales from a personal portfolio to a complex business platform. And because every core tool (VS Code, GitHub, Chrome DevTools) is free, the only real investment is your time and effort.
Start small, ship your first site, learn from real users, and iterate. The gap between “someone who wants a website” and “someone who can develop one” is smaller than most people think—and closing it puts you in control of your digital presence for years to come.


Thanks for breaking down the website development process into clear, actionable steps—especially helpful for beginners. I particularly appreciated the distinction between ‘building’ and ‘developing,’ as it highlights the importance of understanding the underlying structure and code. It’s great to see a resource that emphasizes control and learning over just using drag-and-drop tools.
Thank you for your comment. To use your site link & generate backlink on our platform, 1st go through a paid plan on this page: https://startupmandi.in/services/digital-services/premium-brand-promotion-on-startupmandi/
Thanks for breaking down the website development process into clear, actionable steps—especially the distinction between ‘building’ and ‘developing’ helped me rethink my approach. As someone just starting out, it’s reassuring to know that even with free tools, you can follow a professional-like workflow. The emphasis on testing across devices is a great reminder that good development means thinking ahead about user experience.
Thank you for your comment. To use your site link & generate backlink on our platform, 1st go through a paid plan on this page: https://startupmandi.in/services/digital-services/premium-brand-promotion-on-startupmandi/
Thanks for breaking down the website development process into clear, actionable steps—especially helpful for beginners. I particularly appreciated the distinction between ‘building’ and ‘developing,’ as it highlights the importance of understanding the underlying structure and code. It’s reassuring to know that even in 2026, starting from scratch with free tools is still very much within reach for anyone willing to learn.
Thank you for your comment. To use your site link & generate backlink on our platform, 1st go through a paid plan on this page: https://startupmandi.in/services/digital-services/premium-brand-promotion-on-startupmandi/
Thanks for breaking down the website development process into clear, actionable steps—especially the distinction between building and developing really helped clarify what’s involved. As someone just starting out, it’s reassuring to know that even with free tools, you can follow a professional-like workflow. The emphasis on testing across devices is a great reminder that user experience matters from day one.
Thanks for breaking down the website development process into clear, actionable steps—especially helpful for beginners. I particularly appreciated the distinction between ‘building’ and ‘developing,’ as it highlights the importance of understanding the underlying structure and code. It’s reassuring to know that even in 2026, the core principles of planning, designing, and testing still form the backbone of great websites.
I really appreciate you highlighting the maintenance phase in this guide, as that’s an area many beginners overlook until it’s too late. It’s a great reminder that the work truly continues after the launch to keep the site optimized and secure.
Thank you for your comment. To use your site link & generate backlink on our platform, 1st go through a paid plan: https://startupmandi.in/services/digital-services/premium-brand-promotion-on-startupmandi/
This step-by-step guide is a great resource for beginners looking to build their first website. I especially appreciated the emphasis on planning and testing—those steps often get overlooked but are crucial for a successful launch. It’s reassuring to see that free tools can make the process accessible to everyone.
Thank you for your comment. To use your site link & generate backlink on our platform, 1st go through a paid plan: https://startupmandi.in/services/digital-services/premium-brand-promotion-on-startupmandi/
Thanks for breaking down the website development process so clearly—especially the distinction between ‘building’ and ‘developing’ helped me rethink how I approach projects. I particularly appreciated the emphasis on planning and testing across devices, which are often overlooked steps. This guide will definitely help beginners avoid common pitfalls.
Thank you for your comment. To use your site link & generate backlink on our platform, 1st go through a paid plan: https://startupmandi.in/services/digital-services/premium-brand-promotion-on-startupmandi/